Deploy a Hugo Blog on Github Pages
Hugo: Deploy a website
A personal blog is a perfect place to let the world know about you and showcase your past accomplishments. Put your resume, your projects, your blogs in with a personalized theme which makes people know you have a great taste: all-in-one! It’s your portfolio displayed online, a small yet cool project you can do with not much effort, why not?
With Github Pages, we can host a personal webpage without bothering about finding a domain name, and with Hugo, we have a variety of themes to choose from. Now, let’s start this step-by-step tutorial to set up your personal blog!
Step 1: Install Hugo
You can find commands on Hugo official’s website for a specific environment. (click here)
I am using windows for this tutorial:
Install Scoop
Scoop is a command-line package management tool on Windows platform. Here is their official website (scoop.sh). By the way, you can also choose other package management tools to install Hugo :)
Then run the following command in your PowerShell.
|
|
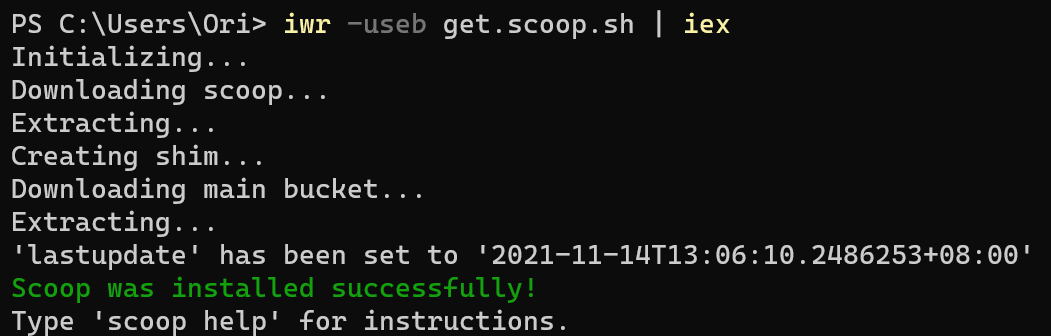
Install Scoop
Install Hugo and Git
Using scoop install hugo and hugo install git commands to install Hugo and Git.
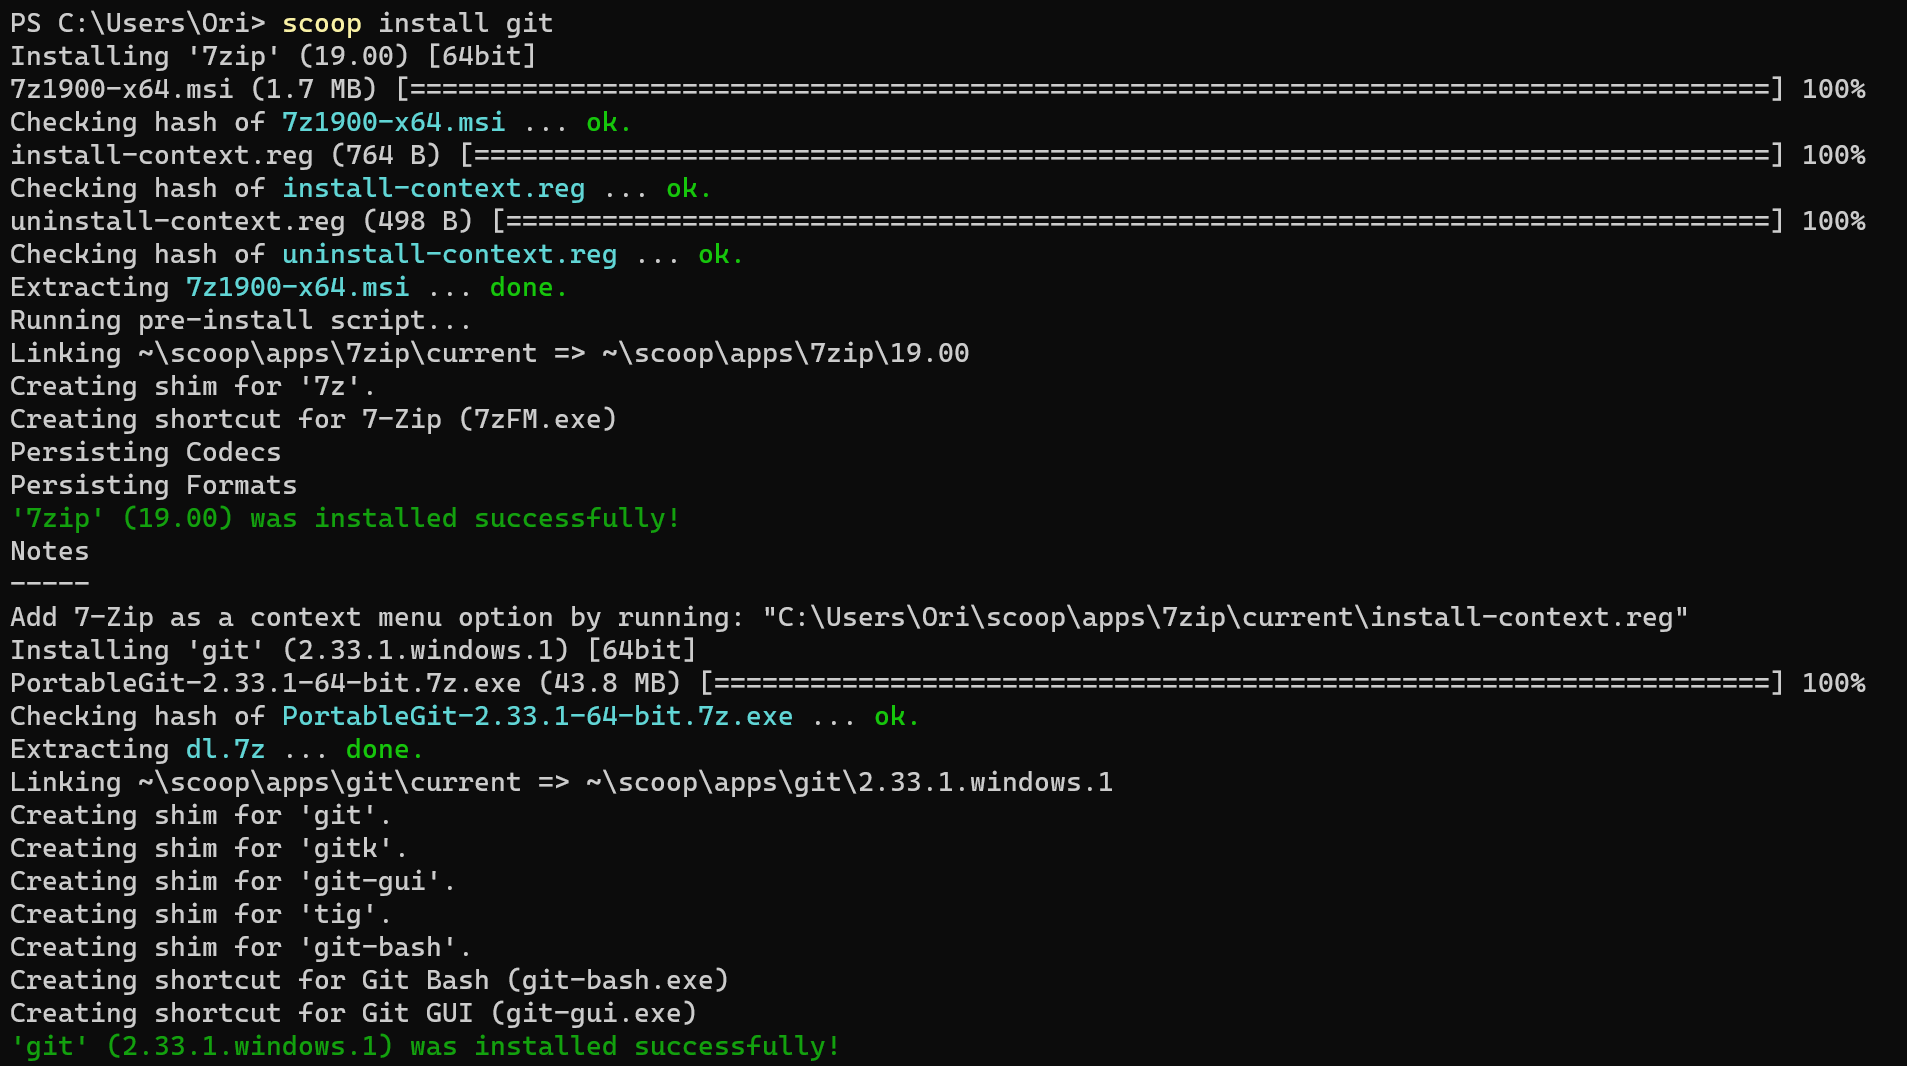
Install Git

Install Hugo
Now you have installed everything on your computer. Let’s go to the next step.
Step 2: Deploy Hugo Site
Create Github Repository
Signing to your Github account and create a Github repository named <username>.github.io. By the way, after we successfully deploy our website in Github. We can view it through https://<username>.github.io.
Build Hugo Site Locally
Then using Git to clone the two repositories to your local computer. then cd blog and using Hugo to create a new site, by using hugo new site <your blog name> .
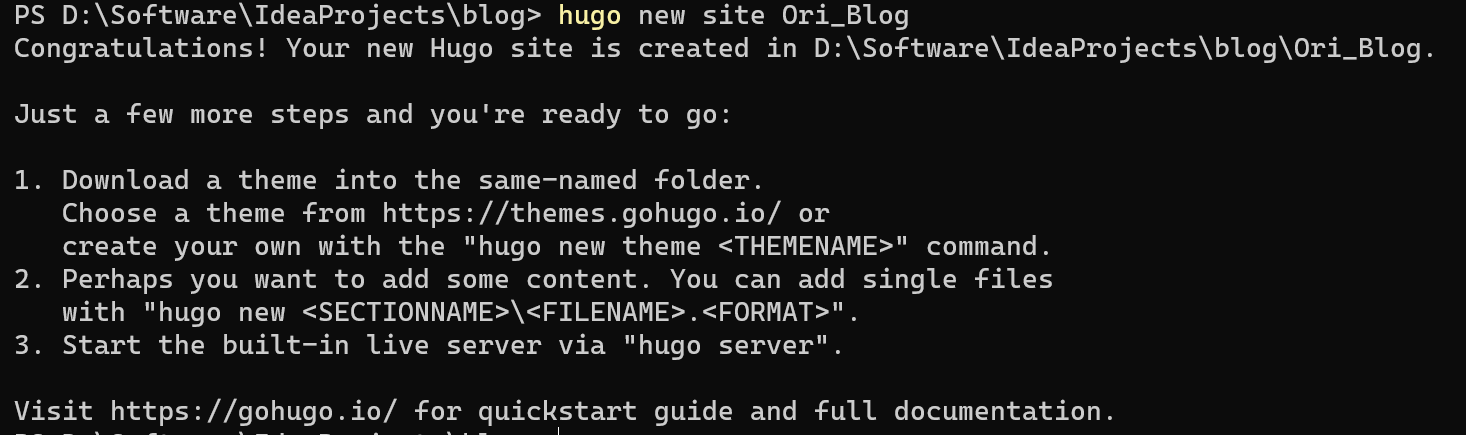
Using Hugo to Build a Site
Then you cloud find Hugo create a new folder named Ori_Blog. So enter the directory. You can see the directory structure like this:
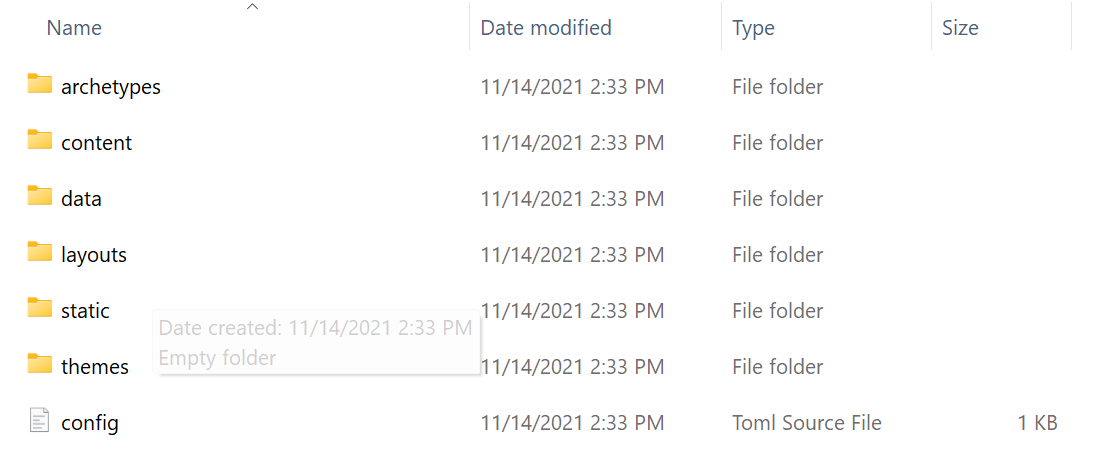
Directory Structure
Link the directory to our Github repository
Simply run the following commands:
|
|
Then we can find our Github repository have a new commit:
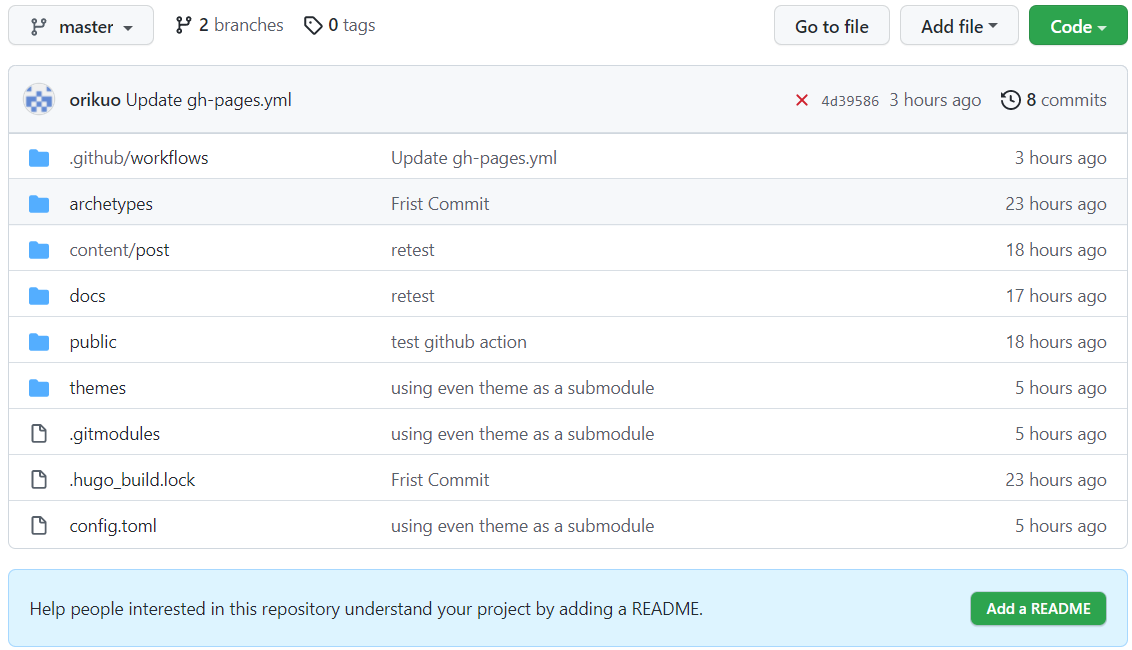
Github Repository
Attention: Empty folder won’t sync to remote Github repository. If you want to add these empty folders to the repository, you can refer to this page
How can I add a blank directory to a Git repository?
Now, we have linked our local Hugo site to Github repository. Let’s go to next step.
Set Theme and Config
Hugo has many open source themes on its website (https://themes.gohugo.io/). you can choose the one you like. Here I choose a theme named https://github.com/olOwOlo/hugo-theme-even. To install the theme as your default theme, first, install this repository in the themes/ directory, and in here I’d recommend using the theme as a Git submodule, just run the following command:
|
|
To use it, copy the [config.toml](https://github.com/olOwOlo/hugo-theme-even/blob/master/exampleSite/config.toml) in the root folder of your Hugo site. Feel free to change it. Find more details in https://github.com/olOwOlo/hugo-theme-even.
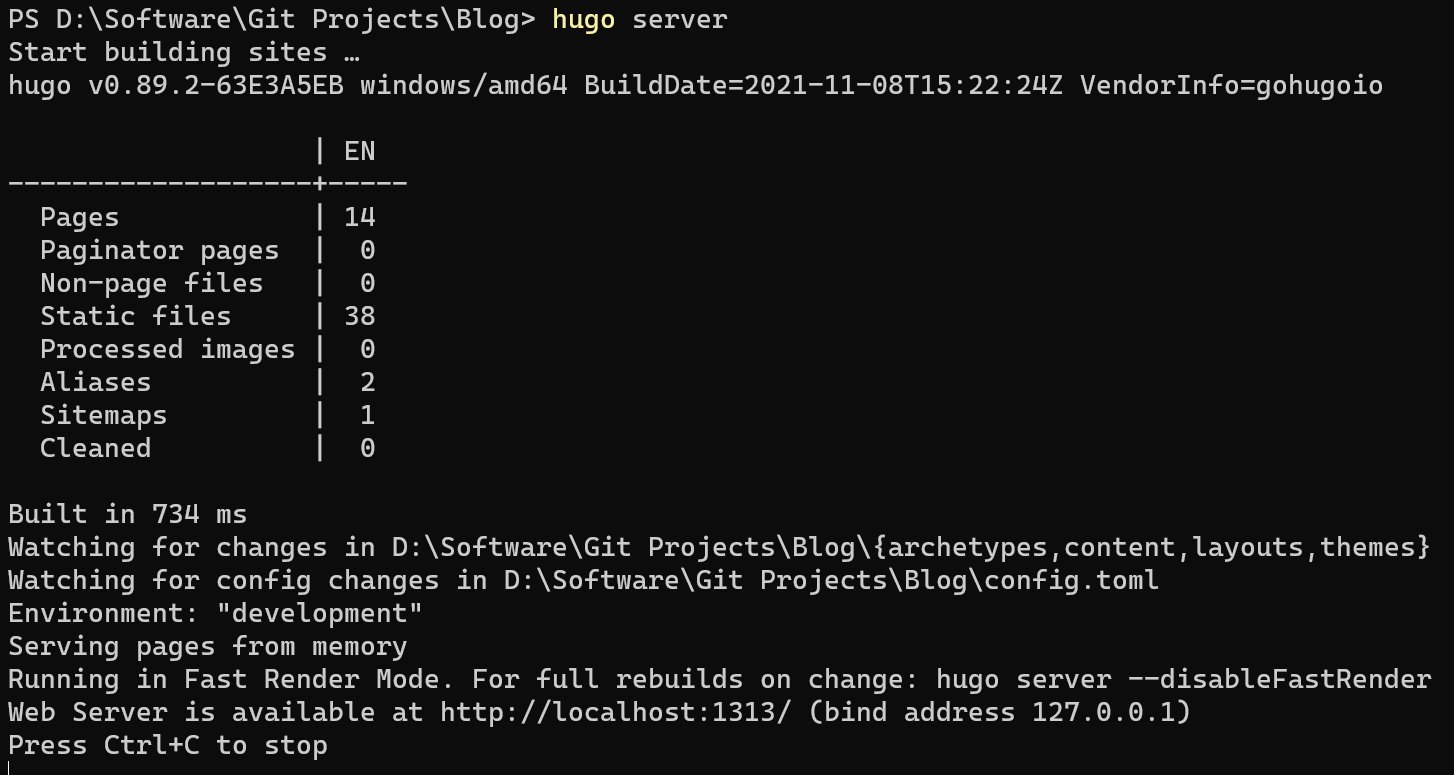
Check the Hugo website whether OK
You just need to run hugo server to check everything is ok. (Visit http://localhost:1313)
Export Static File to Docs Folder
If everything is ok, run hugo -d docs to export files to the docs folder.
Step 3: Deploy on Github Pages
Push to GitHub Repository
Simply run the following commands
|
|
Edit Repository Page Setting
open your repository created before.
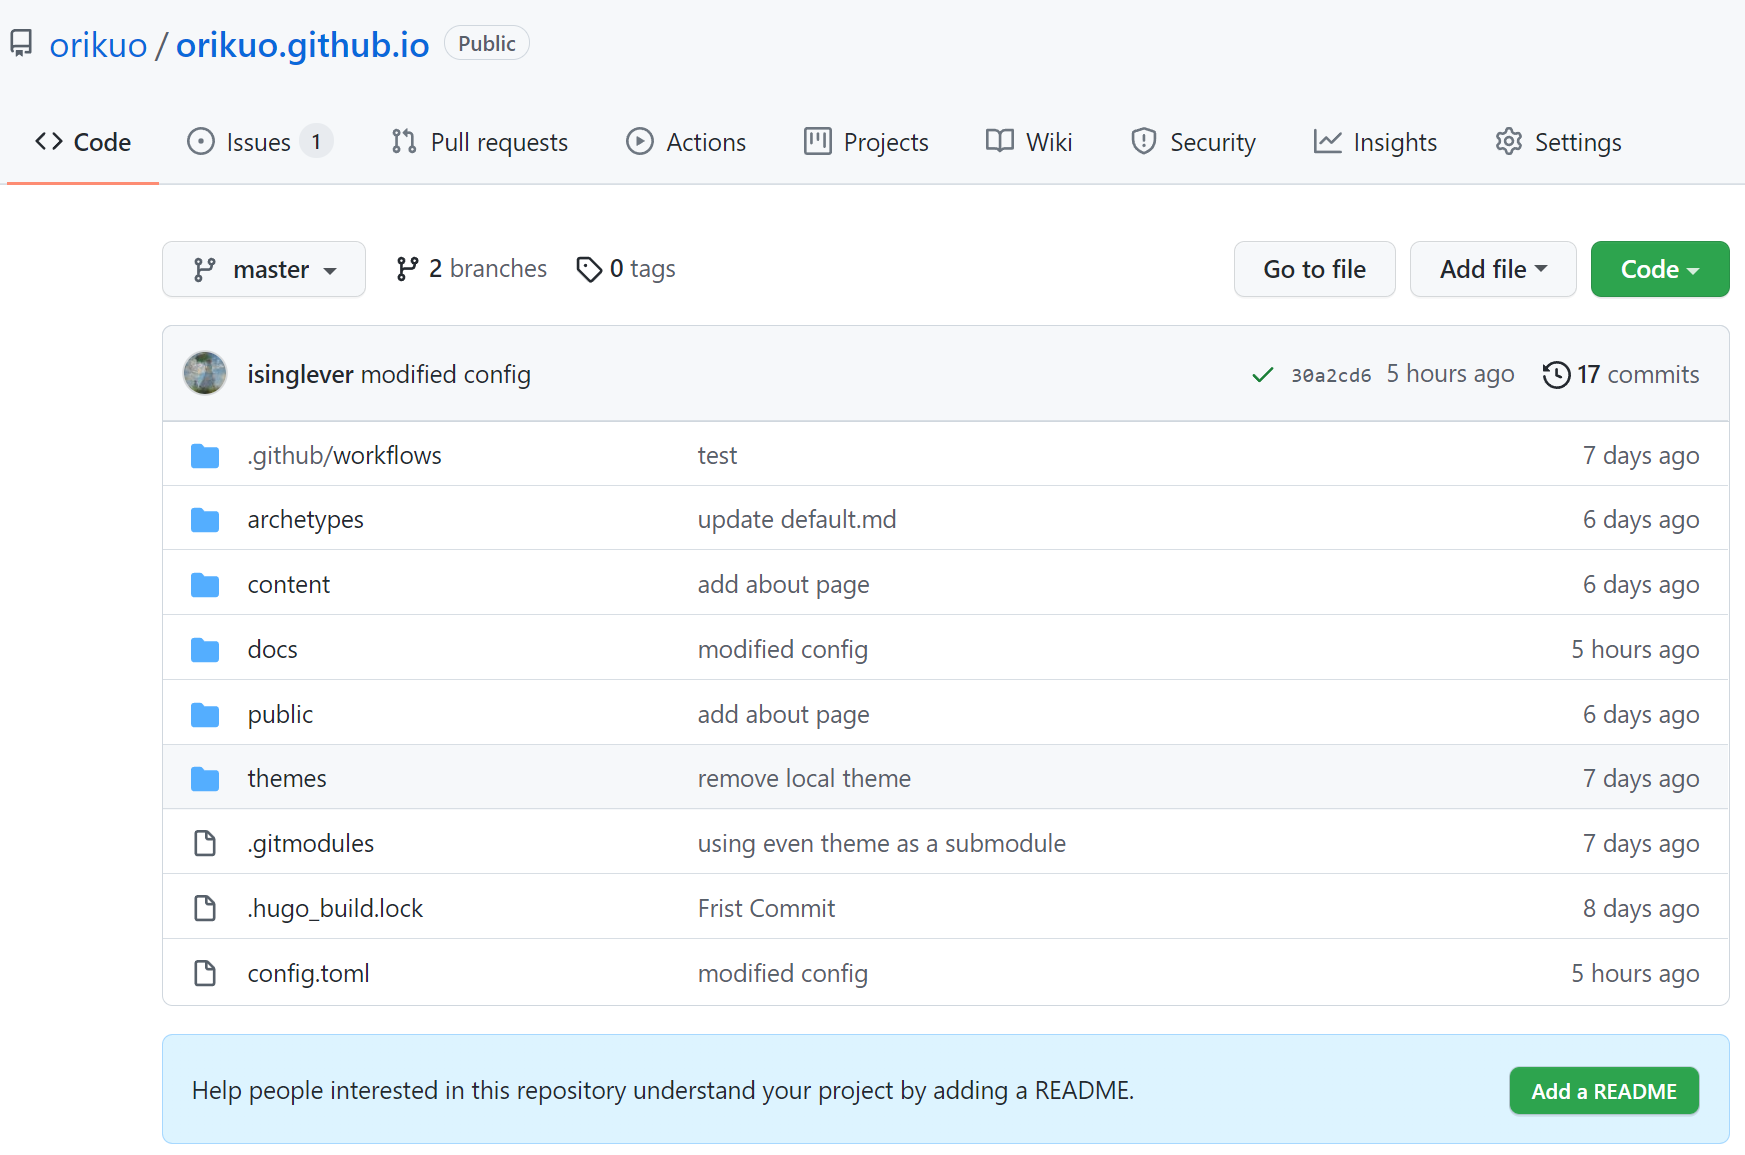
Push to Github Repository
open the setting tab, and find the page setting, set it to follow below photo
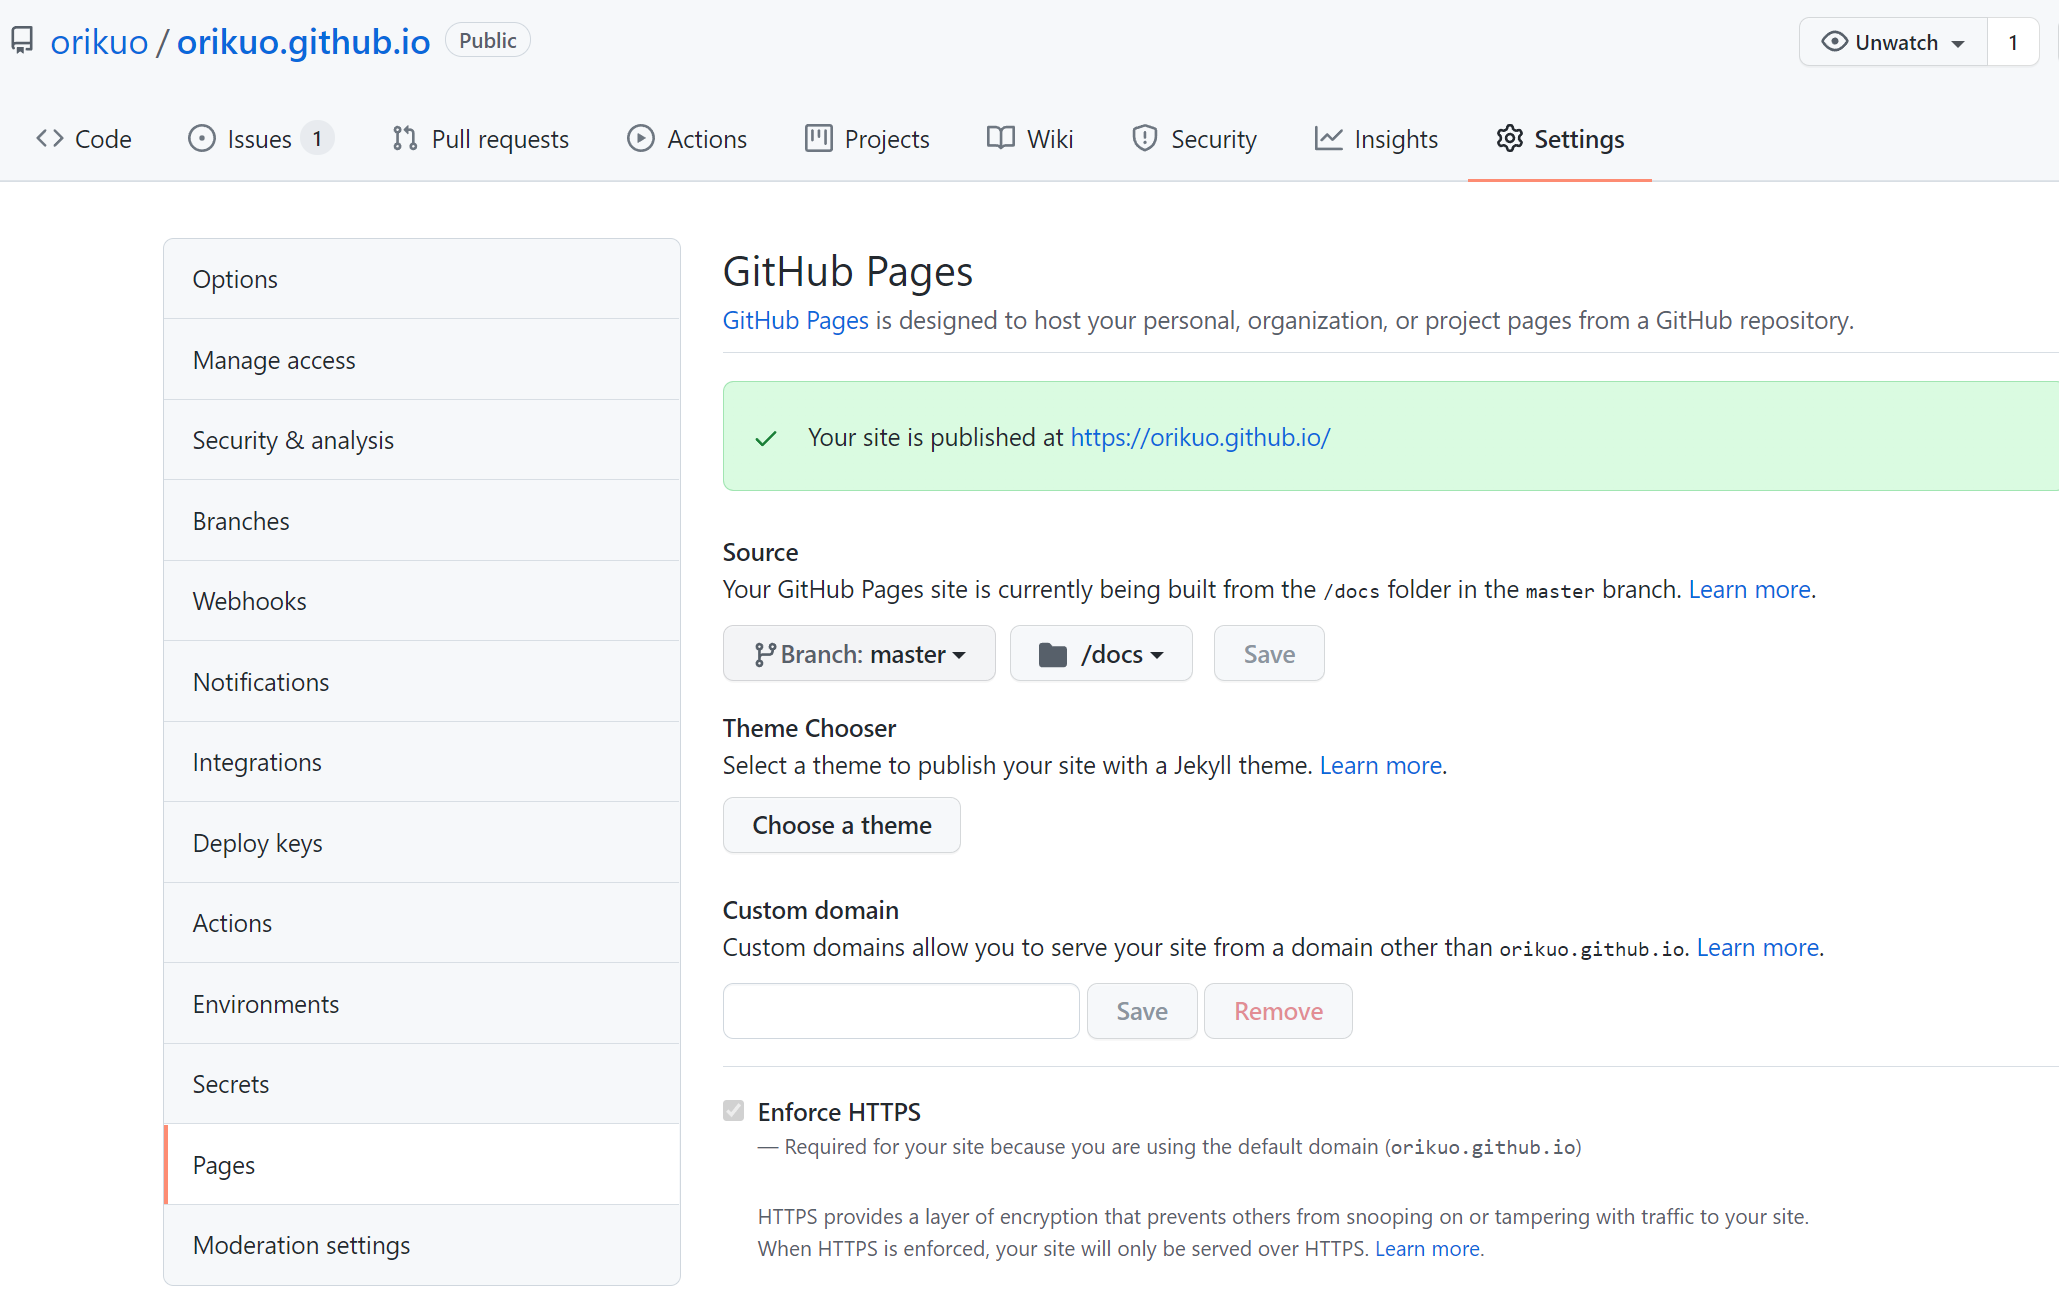
Github Pages Setting
now, you can visit your blog through https://<username>.github.io
Author Ori
LastMod 2021-11-16